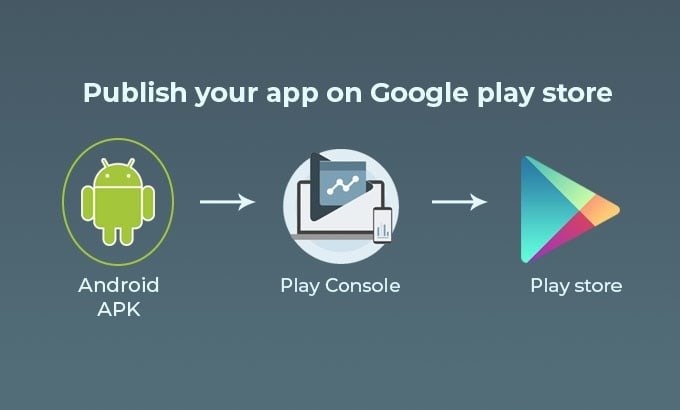
Building an Android app is a remarkable accomplishment for your mobile application development company. It offers a chance to present your dedication and effort to a global audience of millions.
The Play Store is Android apps’ go-to distribution platform with over 2.5 billion active devices worldwide – offering your app access to potential users and making its debut successful.
However, publishing can often seem intimidating. From prepping your app for release to understanding how Google Play Console requirements may apply to it – each step must be executed efficiently in order to guarantee its publication and remain visible within Google’s marketplace. In this comprehensive guide, we aim to simplify this complex process into manageable steps for you.
Must Read: fintechzoom gme stock – Stay ahead with the latest fintech innovations today
1. Set Up a Google Developer Account
The process of Play Store submission of mobile apps starts with the creation of a developer account. Here is how to create one:
- Signing In To the Play Console: Navigating over to Google’s Play Console and signing in using your Google Account should take about one minute.
- Creating Your Developer Account: Follow these instructions to create your Developer account by clicking “Get Started.”
- Pay the One-Time Fee: Google charges a 25-dollar registration fee, a one-time payment that gives you full access to the Play Console.
- Agree to the Terms: Be sure to review and accept Google’s Developer Distribution Agreement and the terms of service.
2. Prepare Your App for Submission
Once you create your developer’s account, it is time to check certain important aspects right before launch. It includes:
- Test Your App: Make sure everything works smoothly. You must test all features, fix bugs, and ensure your app goes cross-platform.
- Build Your APK or AAB: Google now prefers apps to be uploaded as Android App Bundles (AAB), which helps optimize your app’s size. You can build your app bundle or APK file using Android Studio.
- Review App Permissions: Double-check the permissions your app needs, like camera access and location, to ensure you have added them correctly.
- Versioning: Update the version number in your app’s code to make sure you can easily track updates later.
3. Manage Your Play Store Listing
Having said that, the app store listing is the first thing users will see, so you better keep it appealing. Here are tips on how to make it look enticing:
- App Title: Choose a clear, descriptive name that lets users know exactly what your app does.
- App Description: Write a catchy, brief app description. Also, list key features and benefits.
- Screenshots: Include quality screenshots that showcase the highlights of your app.
4. Upload Your APK or AAB File
Open Google Console and click on the option “Create Application.” After doing so, choose your default language for your app listing and proceed to the Release section. This is where you will upload your APK or AAB file.
Now, decide if you want the app to be launched for the public only by selecting a production track or if you’d prefer to test it with a smaller group first by choosing the alpha or beta track.
5. Set Up Pricing and Distribution
Here, you are going to decide how and where your app will be available, along with different checkouts associated with it:
- Pricing: Is your app free or paid? You need to set a price for each country you want to sell in if it is paid.
- Distribution: Choose the countries where you want your app to be available. You should better release it globally or limit it to specific regions.
- Content Rating: Google requires a content rating for every app. Answer a quick questionnaire about your app’s content to get a suitable rating.
6. Submit Your App for Review
Take a moment and review all the details you have mentioned, such as app description, pricing, and category, to make sure everything is accurate. The moment you feel completely satisfied, hit the Publish button. Google then reviews your submission request to make sure it is up to their guidelines, and takes around a few hours to a couple of days. If everything looks good, your app will be approved and go live on the Play Store.
Remember, in order to avoid any unexpected rejection, give your app a thorough check based on Google guidelines.
7. Keep Your App Updated
There is a slight misconception among mobile application development experts that the task is finished once your app is live. In fact, it is an ongoing process that seeks different changes over time:
- Regular Updates: Make sure to fix bugs, improve performance, and add new features with regular updates. You should upload new versions directly from the Play Console.
- Engage with Users: Keep an eye on user reviews and respond to any questions or concerns they have. This helps build a good relationship with your app’s users.
- Use Analytics: The Play Console provides valuable insights into how your app is performing. Track metrics like downloads, user retention, and crashes to make improvements.
Nailed It?
You simply have to follow these easy steps and hit users all over the world. Still can’t do it? No worries; we are here to save you from this cognitive overhead. Hire an expert mobile application development company to improve, engage, and watch your app thrive!


